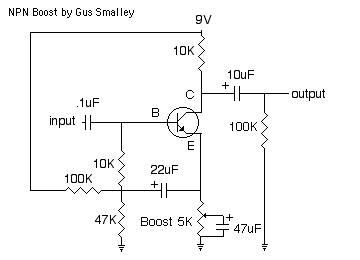
 The original schematic from diystompboxes.com
My, ever so slightly edited schematic with the 10k resistor from the 9v to the collector changed to a 5k resistor to better accommodate a change in the transistor from a 2n3904 to a 2n2222a.
Caps:
.1uF
10uF electrolytic
22uF electrolytic
47uF electrolytic
Resistors
2x100K
5K
10K
47K
5K Linear Potentiometer
Transistor:
2n2222a
and the obvious...
DPDT switch
Battery snap
Mono Jack
Stereo Jack
Parts list, add a 100k lin pot and a 10nF cap for the tone control.
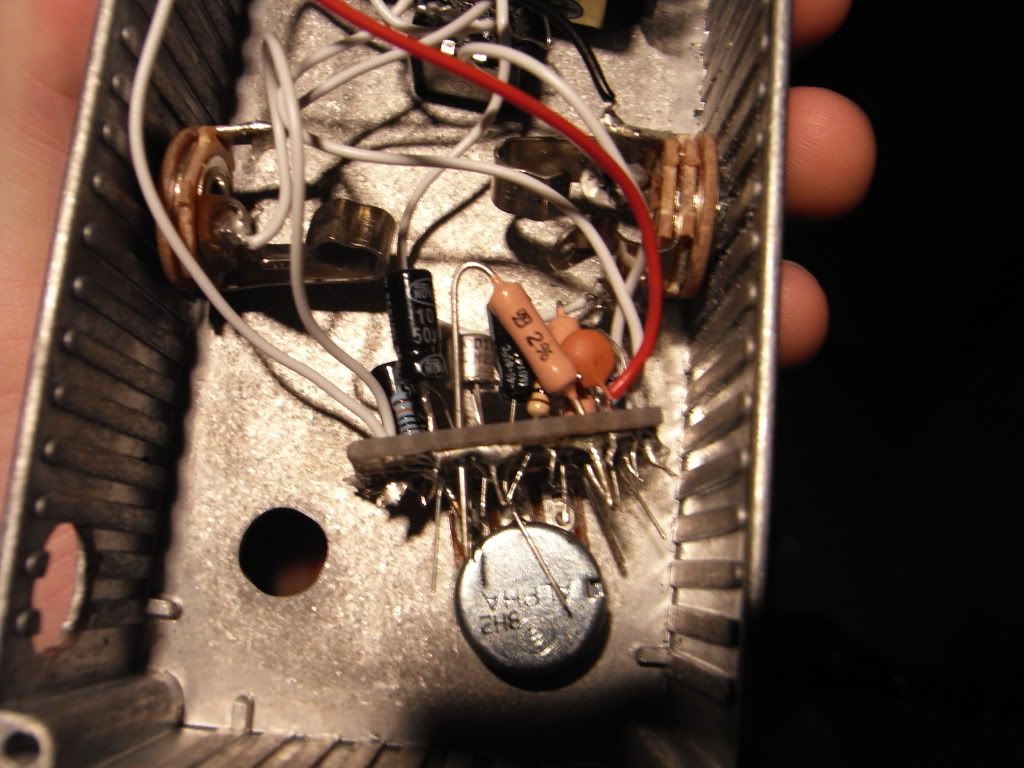
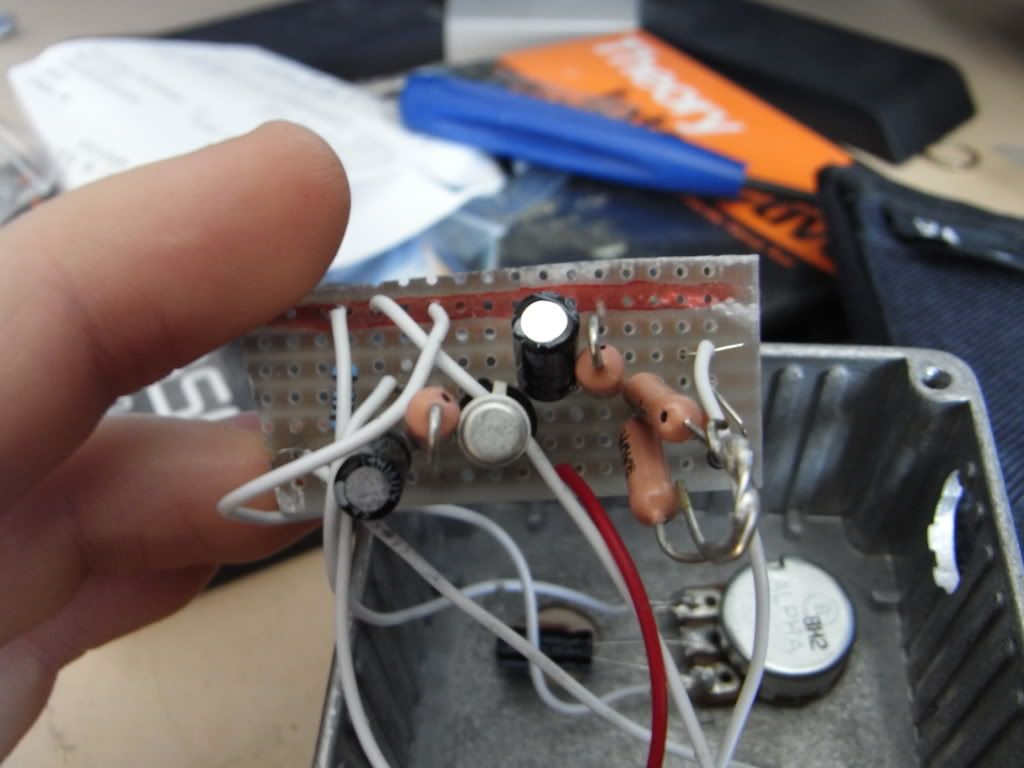 My first rough and scruffy build straight from the edited schematic.
I then made a layout for a more compact, neater layout with the potentiometer mounted onto the board and decided to add a simple les paul style tone control to allow a bit of attenuation of the highs.

The layout I made up using a great, free tool from Storm Software. There are some breaks in the board that aren't visible on the layout these beneath C1, C3 and R3.
The version with the panel mounted potentiometer.
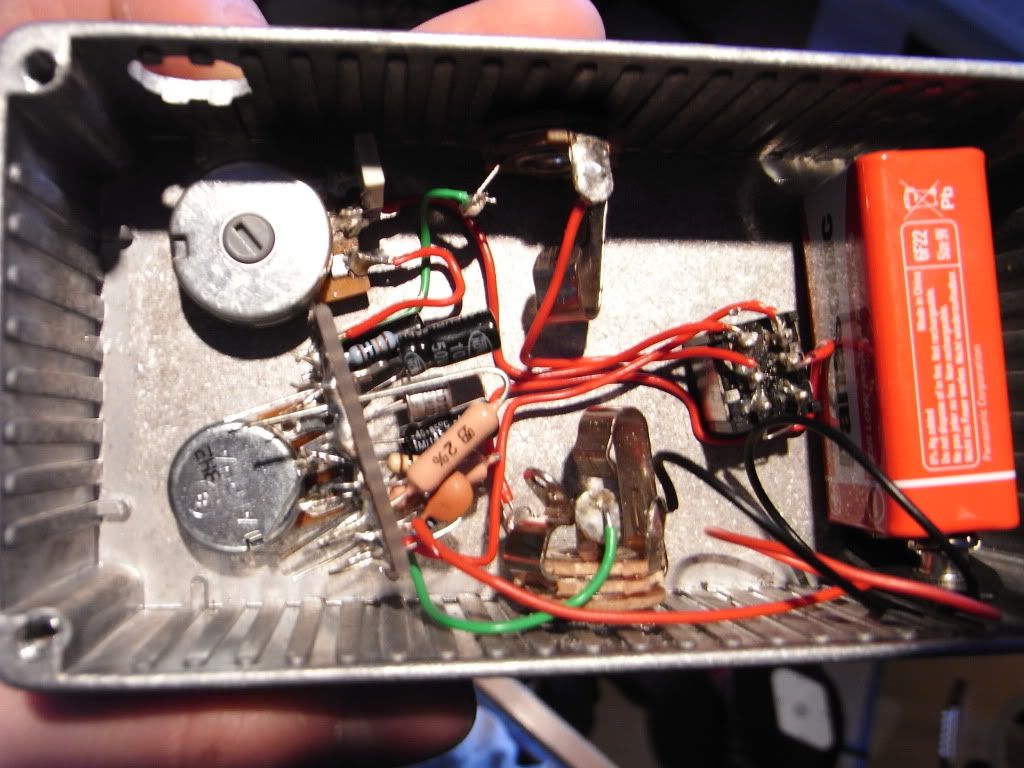
The finished pedal with neater wiring and tone knob. For the tone knob I used a 10nF cap but it's worth playing around with different values to see what you like. It doesn't make a huge difference to the sound but it's noticeable, easy and useful.

The layout I made up using a great, free tool from Storm Software. There are some breaks in the board that aren't visible on the layout these beneath C1, C3 and R3.
The version with the panel mounted potentiometer.
The finished pedal with neater wiring and tone knob. For the tone knob I used a 10nF cap but it's worth playing around with different values to see what you like. It doesn't make a huge difference to the sound but it's noticeable, easy and useful.
This was a fun build and the end result sounds GREAT. I'm using it to drive my little Vox combo into overdrive at home and it's been worth the effort. You can find everything you need to build the original here
No comments:
Post a Comment